
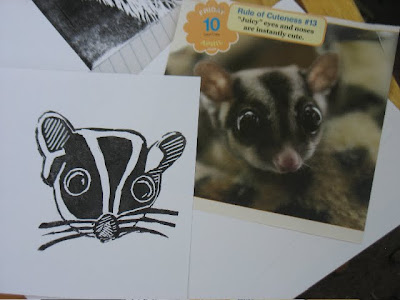
You should choose an image with a lot of contrast, meaning if you have a black dog, make sure there is a lot of light shining on him in the picture. For your first time it may be best to use a picture with some "real" black and white contrasts.
Step Two:
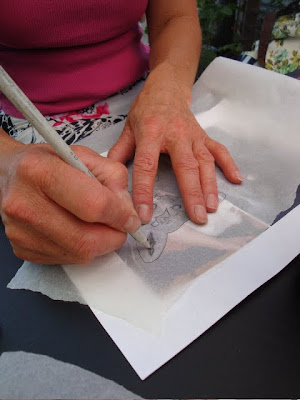
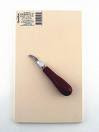
TRANSFER YOUR IMAGE
This part is easy! All you have to do is use a very soft #2 or softer pencil and trace the main lines of your photo or picture. Leave the finer details for the next step! Next turn your image over pencil side down onto your easy cut and rub the back to transfer the pencil. Peel back your paper carefully as to not smudge your lines. Your image should be clearly on the easy cut.

Step Three:
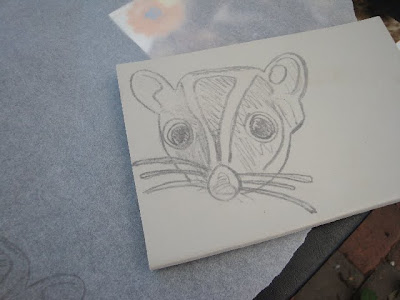
TOUCHING UP YOUR IMAGE
Now is the time to "go back into" your image and ad the finer details. Looking at your original image go back and ad the finer details of the picture directly to the easy cut. Once you have completed this you are ready to CUT!
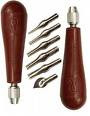
Step Four:
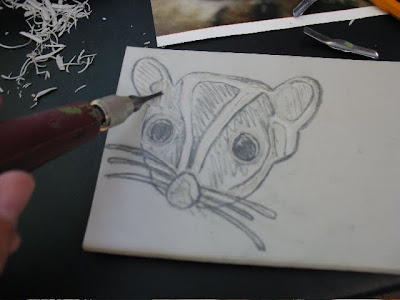
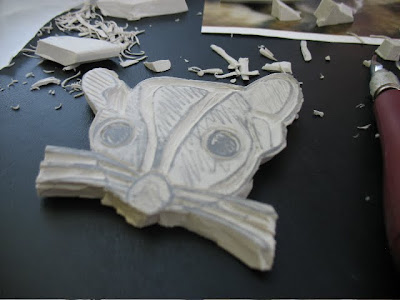
CUTTING YOUR IMAGE
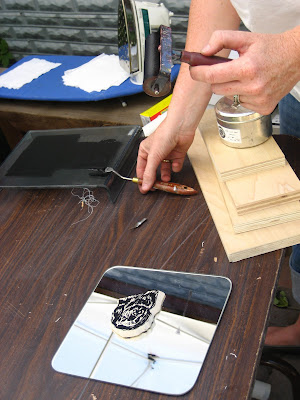
Using the Speedball linocut tool start with the
larger lines of your image (the original lines you transfered from the pencil rub).
REMEMBER: any line that you cut will be void of ink, and any bit that you leave will collect and print ink .Keep this in mind when you start to cut, you may want to cut the pencil transfer line, or the areas between depending on your image.
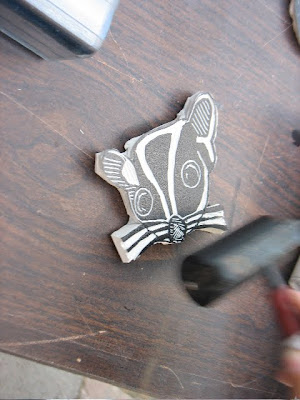
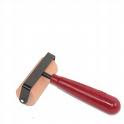
Step Five:
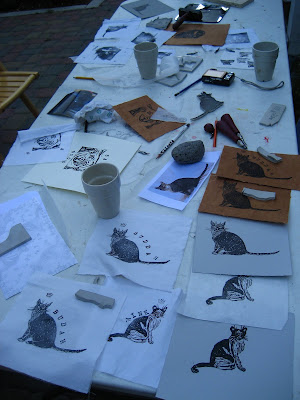
MAKING A TEST PRINT
Using the Speedball Brayer (there are many types and brands of brayers, make sure you buy one that will work well with the ink you have).(oh there are many kinds of ink, I recommend this one it is water based and easier to clean up! )evenly roll ink
onto the easy cut. Make sure to only put a light layer of ink onto your easy cut so that ink does not creep into the "cracks" so you get a "true" image. This test print will give you a good idea of what the image is going to look like. With this print you can now go back into your easy cut and carve out the last bits of your image!


Step Six:
FINAL PRINTING
Now your print is done! You can ad all sorts of embellishments by stamp or hand drawn to make these into one of a kind artworks!
I do have to give a Huge PHOTO CREDIT to Lis Korb, I couldn't have posted this without her!

No comments:
Post a Comment