Sunday, November 15, 2009

Begining Screen Printing Intro (stencils)

Basics of Screen Printing class


TUESDAY NOV. 17th at 4:30 pm

The cost is $20 with additional supply costs if you wish to take them with you.

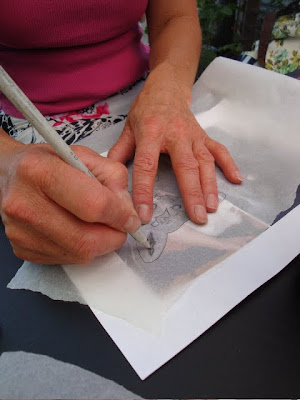
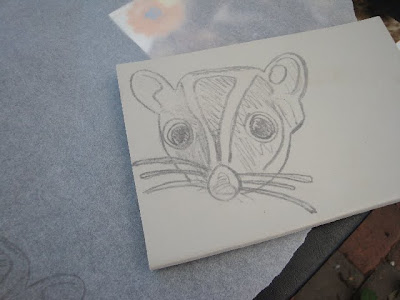
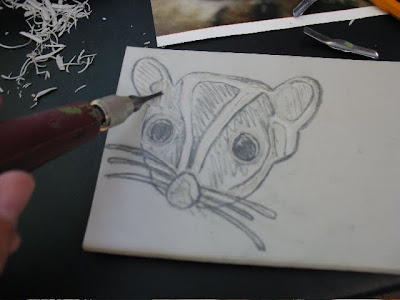
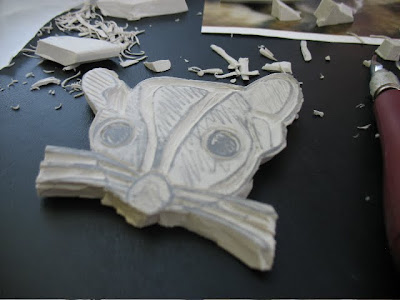
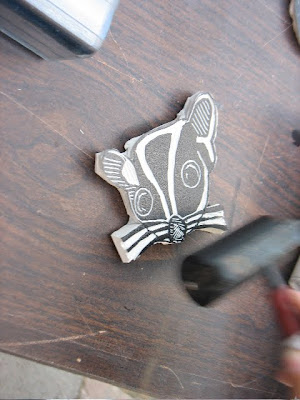
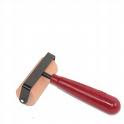
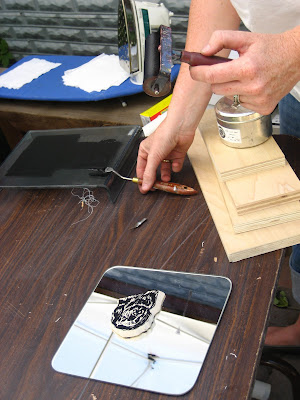
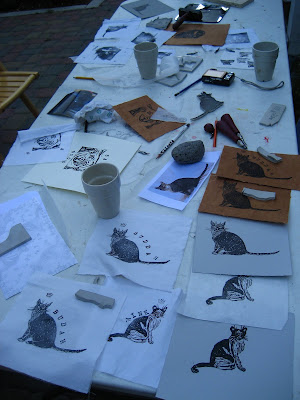
In this class you will learn the basics of Stencil Screen Printing. How to make your own tools for printing at home, and how to correctly use them.


Please RSVP to: truckeecrafternoons@gmail.com so we know how many supplies to purchase.

Please bring:

1.Special papers, cards, paper goods to print on

2. A few different stencil ideas

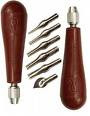
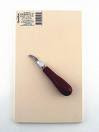
3. an exacto knife if you have one

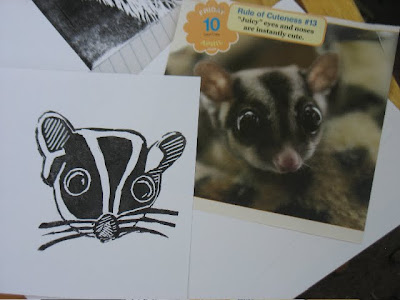
4.High contrast black n white photo

5. water to drink!


**again, please rsvp if you plan to come.


Wednesday, October 21, 2009

ReCYCLED JEWELRY CLASS: A SUCCESS

Tutorial on how to make your own ear wires coming soon!


Template... as promised

Here is just one template for using wonder under. AS I mentioned, Wonder Under can be Purchased at BOTH quilters Haven, and Donnas Stichery. SHOP LOCAL!!
Or Online HERE.

Pillow Slip class, A SUCCESS!

WE had a wonderful class last night. WE all made custom pillow slips, and boy did they turn out great. Once I "process" the film I will upload the photos!
Check back!

Tuesday, October 13, 2009

Custom Collage Pillow Class


Our Third Crafternoon kicks off next week with our
Custom Collage Pillow Class

In this class you will learn to cut, collage and sew a one of a kind pillow slip. We will work with ribbons, fabrics, and leathers in order to create your very own master piece of comfort!
We will explore techniques in how to close the pillow with either, zipper, buttons, flap, or sewn shut. We will learn to finish edges with ease, or how to make an almost sew-free pillow cover.

Tuesday October 20th
4:30-7pm
$20.00

Please bring:
1. any fabric scraps, ribbons etc. you might want to use
2. Any inspirational pictures or collages you have
3. a sewing machine if you have one (you do not have to have your own machine.)
4. a bottle of water to stay hydrated!


here are just a few examples from etsy artists.

This pillow if from HERE on etsy.

Friday, October 2, 2009

And a little Inspiration!


Check out this women's Amazing recycled Jewelry HERE. She uses everything from milk caps to rubber bands.

A tip before our Class!

Here is a little early inspiration and article you may find interesting. It comes from Planet Green and I found it interesting.
I hope you do too!
See you tuesday!
Happy crafting

Tuesday, September 29, 2009

RECYCLED JEWELRY CLASS


Hello fellow crafters,

I am so excited about next weeks CRAFTERNOON.

We are hosting Lorien Powers (co-owner of drake & Lulu's) for a


Recycled Jewelry Class


Here are the details:

Tuesday October 6Th

4:30-7pm

$20

Please RSVP as we only have space for 15 crafters this class.


This class will give you a little intro to assembling and creating jewelry using recycled items.


The end product of this class will either be a pair of earrings, or a necklace. Please keep in mind that your course fee covers the most basic of ingredients and we urge you to bring extras to incorporate.


Please bring:

1. Anything you would like to incorporate into your jewelry

(this may include Coins, feathers, old jewelry, old chains, trinket, and tchotchkes)

2. An apetite for creativity

3. A bottle of water to keep you hydrated!

4. A few extra bucks ($5-$10) if you want to make multiple items.


Also: if you plan to make a necklace please bring with you a chain or two, MAKE SURE it is a chain that will allow you to attach on ANY link.

Please let me know if you have any questions:

please RSVP TO: truckeecrafternoons@gmail.com


if the weather is nice we will be outside, if not we will go inside, please dress accordingly.


Please send me an email if you would like to be removed from my crafternoons emails.

Monday, September 21, 2009

CLASS CANCELED, LOOK FOR NEW SCHEDULE

I am so sorry I have to break the news, Tomorrows class is Canceled.
I will post a new schedule for this class asap!

Thanks so much for understanding!
Thanks
Heather

Saturday, September 19, 2009

NEW article in MOONSHINE INK

A huge Huge thanks to Lis Korb and Moonshine Ink for doing an absolutely fabulous article on crafternoons.

Check it out HERE


THANKS A HEEP!

Wednesday, September 16, 2009

Step by Step how to: LINOCUT


Here is a little step by step for those of you who missed our first class, please let me know if you have any questions comments or corrections!Step One:CHOOSE AN IMAGE
You should choose an image with a lot of contrast, meaning if you have a black dog, make sure there is a lot of light shining on him in the picture. For your first time it may be best to use a picture with some "real" black and white contrasts.

Step Two:
TRANSFER YOUR IMAGE

This part is easy! All you have to do is use a very soft #2 or softer pencil and trace the main lines of your photo or picture. Leave the finer details for the next step! Next turn your image over pencil side down onto your easy cut and rub the back to transfer the pencil. Peel back your paper carefully as to not smudge your lines. Your image should be clearly on the easy cut.


Step Three:
TOUCHING UP YOUR IMAGE

Now is the time to "go back into" your image and ad the finer details. Looking at your original image go back and ad the finer details of the picture directly to the easy cut. Once you have completed this you are ready to CUT!

Step Four:
CUTTING YOUR IMAGE

Using the Speedball linocut tool start with the
larger lines of your image (the original lines you transfered from the pencil rub).
REMEMBER: any line that you cut will be void of ink, and any bit that you leave will collect and print ink .Keep this in mind when you start to cut, you may want to cut the pencil transfer line, or the areas between depending on your image.

Step Five:
MAKING A TEST PRINT

Using the Speedball Brayer (there are many types and brands of brayers, make sure you buy one that will work well with the ink you have).(oh there are many kinds of ink, I recommend this one it is water based and easier to clean up! )evenly roll ink
onto the easy cut. Make sure to only put a light layer of ink onto your easy cut so that ink does not creep into the "cracks" so you get a "true" image. This test print will give you a good idea of what the image is going to look like. With this print you can now go back into your easy cut and carve out the last bits of your image!


Step Six:
FINAL PRINTING

Now your print is done! You can ad all sorts of embellishments by stamp or hand drawn to make these into one of a kind artworks!


I do have to give a Huge PHOTO CREDIT to Lis Korb, I couldn't have posted this without her!

Wednesday, August 19, 2009

A Complete Success!

Yesterday marked the inaugural day of CrafterNOONS in the Courtyard.
Instructor and artist MARY KENNY taught a seminar in beginning printmaking, with the theme being print you pet!
Here is a little pictorial delight of the afternoon.


Please join us next month for Crafternoons in the courtyard!
Our schedule is to come!
Check back soon.


Friday, August 14, 2009

PRINT your PET


Hello Everyone!

I want to apologize for a TIME CHANGE in our upcoming Crafting class.
The ACTUAL time will be 4:30-7pm
I hope you all can still make it, as do I hope this time change may work well for folks who had other time conflicts!

SO here is the info!

Brickelltown Crafternoons Presents:
Print Your Pet pooch, parrot or puss

Mary Kenny will be teaching an introductory print making class in the
Brickelltown Courtyard.

TUESDAY AUGUST 18th at 4:30-7pm

10382 donner pass rd
Truckee, CA 96161
550-9610
The cost is $18 bucks and includes ALMOST everything you need!

In this afternoon class you will learn how to create a simple linocut.
Linocut transforms the simplest of images into graphic form, producing bold,
dramatic prints similar in appearance to woodcuts. You'll learn to plan an image, carve an easy cut plate,
work in positive and negative and print with multiple colors.
linocut prints make fabulous greeting cards, and can also be printed on fabric.
No experience necessary!
This is a wonderful way to begin an exploration of print making.

Please bring:
a picture of you pet or a face you want to print
water to drink
any additional papers, cards or cloth you want to print on.

any questions: hey@drakeandlulus.com 530-550-9610

Friday, May 1, 2009

Personal Shrines


This Project is dedicated to using the materials and found objects you already have. 
Materials:
I used:
scrap wood for pedestal and little boxes
vinatge quilt patches
old books
old lace
found key
wish bone
wooden thread spools
and of course:
glue
paint

Inspiration: 
My grandmother: I wanted this piece to serve as a sort of generic, yet with a personal feel grandmother piece. 

Artistic Inspiration:


Time: This piece took me a few days to assemble and build.
Maybe take a few minutes, or a few weeks to build a personal shrine, or dedicate on to someone you love.

Options: Think 3d with this project. Often just taking things off the wall is an important first step.

Get crafting & send me your photos. I will post them.